
Once you have a great looking row of content in your email campaign, it’s easy to save that for re-use in other email content. If you would prefer to watch a video showing you how to save rows, please watch: Saving Rows in eNudge
Saving a Row
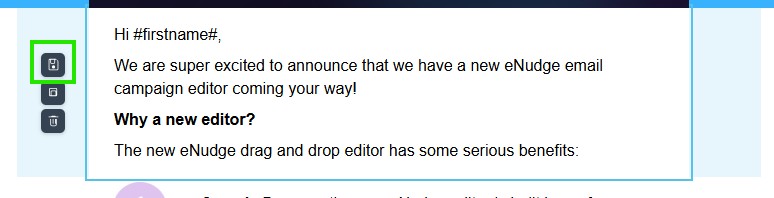
Click on the Row you want to save to select the whole row. You will see a set of 3 icons appear, click on the Save icon.
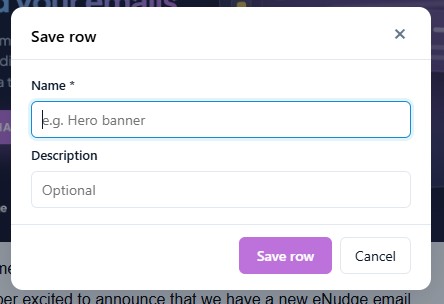
A popup will then appear – fill that out with a name and description to help you remember the purpose of the row, and click the ‘Save row’ button.
Using a Saved Row
Now, while editing a draft email campaign, you can quickly insert your saved row via the following steps:
In the Rows section in the left hand panel, click on the ‘Custom Rows’ tab to see a thumbnail, name and description of your saved rows:
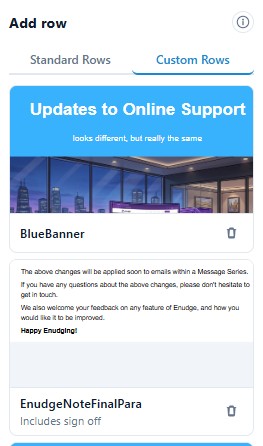
Drag and drop the required row into the desired location in your campaign.
Deleting a Saved Row
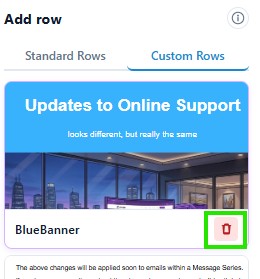
From the list of Saved Rows, you can easily remove an outdated row by clicking on the Delete icon.
For a video version of this tutorial, please click: Saving Rows in eNudge