
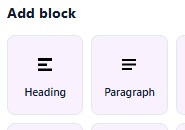
One of the main components of your email content will be text. In the drag and drop editor, there are two main types of components for inserting text: Titles and Paragraph.
Once you have dragged your text element into position in your campaign, click on it to be able to type in your content. The toolbar at the top of the text in the right hand panel enables you to style and add links. The options include the usual bold, italics, underline, strike-through formatting options, as well as giving you the ability.
You can also add symbols.
Personalising your Content
Click on a ‘Personalisation field’ from the left hand menu to insert a field into the content of your message.
Click on the required field to insert it into your message. For example, to personalise on the first name, you will click on the ‘First Name’ field in the list.
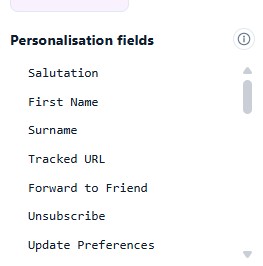
For example, if you select ‘First Name’, you will see #firstname# is added into your email content. Then when you send your message, each contact’s first name will be inserted into this place in your message.
Inserting Hyperlinks
Select one or more words in your text and click on the hyperlink icon:
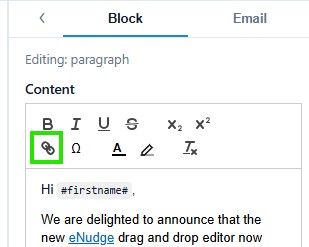
A pop-up will appear, in which you can paste the web page URL where you want your reader to go when they click on the text.
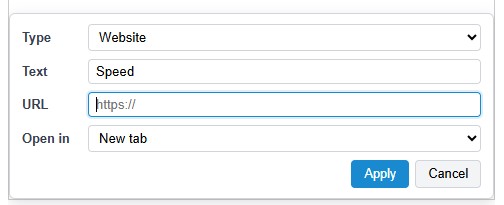
It’s a good idea to make sure that the Target is ‘New Tab’, so that someone reading your email in a web browser isn’t taken away from their emails.
The default type of link is to a Website, but in the Type drop down you can also choose from:
- Email – this will provide a link to open a new email to the specified email address.
Required format: mailto:your@emailaddress.com
Optionally add a subject line with: mailto:your@emailaddress.com?subject=My%20Subject%20Line
(%20 = a space)
Optionally add a subject and content for the body of the email with: mailto:your@emailaddress.com?subject=My%20Subject%20Line&body=My%20body%20text%20is%20here. - Phone – this will provide a link to click to call the specified number.
Required format: tel:0385252082
You can insert any phone number you wish, including mobile numbers.
Text Settings
You can also change the following settings which applies to all the text in the selected content block:
- Font face
- Justification (left, right, centred)
- Font weight e.g. bold, regular…
- Text colour and size.
- Text highlight colour.
- Link colour, and link style e.g. underlined or not.
- Line Height and Paragraph Spacing.
- Heading markup (h1, h2, h3) – only available for headings.
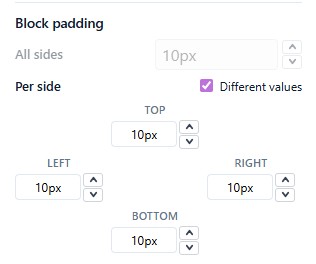
Adding padding around your text makes it very easy to implement a clean, and easy to read layout. If you want to have a different amount of padding on the top, bottom, left or right, click on the Different Values tick box, to set different measurements per side:
Mobile Responsiveness
Switching to mobile mode, allows you to hide a text block on desktop or mobile, as well as alter the font size and padding on mobile.